Okay, I’ve been meaning to share my filleting technique on our website for years, and while it’s so easy for me at the fillet table, salmon after salmon all summer, it’s actually much harder to break it down, step-by-step, with photos and video to show you how through this medium. We’ve videoed the process countless times, but we never seem to get to “post production” and edit it sequentially to make sense so we can post it on YouTube….but that’s coming still someday! For now, here are the quick steps, hints & tricks, photos and hopefully enough information for you to turn your basic knowledge (even if zero) into fillet mastery that will impress your friends and baffle traditionalists! Check out How To Butterfly a Salmon to get some ideas to start with too.
This technique is completely self-taught, though I have to give credit for the skinning technique to Papa Hofmeister, who first showed me how to do this with the tip of a fillet knife on the shores of the Kenai River in Cooper Landing just below the famous Russian River. I was amazed and delighted when he taught me to skin my salmon because I had always had a strong aversion to the salmon slime that accumulates on the skin within minutes after taking it out of the water. The slime factor is what ruined the first King Salmon I ever caught in my life (circa 1984 on the Kasilof River, cast #4) and the slime factor kept me from delving into cooking salmon and exploring the possibilities for years. When I learned to properly skin the fillets it made all the difference and motivated me to eventually advance this technique and take it further as you’ll learn below.
I call it the “Master Chef Filleting” technique because the product that you produce with these fillets would please any master chef!
Tools you’ll need:
Sharp fillet knife, with flexibility
Needle nose fishing pliers
A plastic “zipper” or gut hook
Fresh water for rinsing
Container for storage (we prefer plastic bins or totes so we can put them in the fridge to further cool before packing/freezing or smoking)
Step 1: Caring for a Fresh Caught Salmon
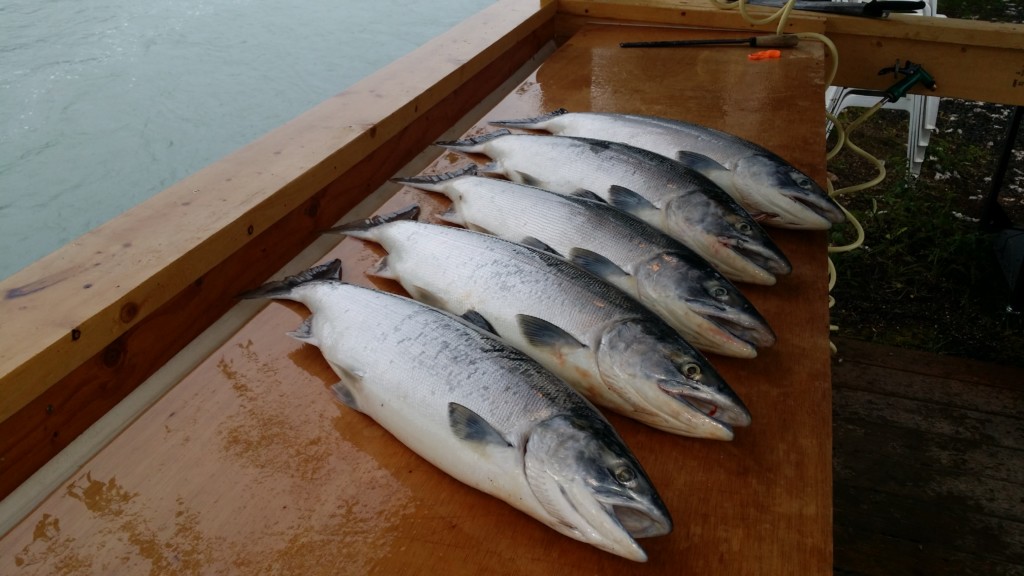
After you’ve caught a fresh salmon, immediately “bonk” it on the head in a club like fashion, right on the crown. Not on the side, not anywhere near the upper back or you’ll bruise some of the most precious “fillet mignon” cuts.
After bonking the salmon, immediately take it to the riverside, but it on a stringer or build a rock-walled fish well, and pluck a gill on each side of the fish to allow the fish to bleed as you place it in the water either on the stringer or in the well. Let it cool naturally in the water and completely bleed out for at least 30 minutes, but no longer than an hour or so. The longer you leave it in the water the lower the quality of the fillets as they’ll get softer and softer. 30 minutes is ideal.
Step 2: The First Incision
Place the fish on the fillet table or a flat surface. Head to the right, tail to the left horizontally. Cut less than 1/4″ deep and a few inches long, at an angle along and parallel to the upper side of the head and gills, just enough to break the skin, but not into the flesh. You want to see the grey fatty layer just below the skin. Favor the upper part toward the back, staying away from the lower area toward the belly. This will allow you to insert the zipper or gut hook or the tip of your fillet knife to begin prepping for the skinning process. I know it sounds complicated already, but I’m trying to be as specific as possible.
Step 3: Making the Skinning Incision
Insert the zipper or gut hook or the tip of your fillet knife and come up alongside the head to the top of the back and make a turn to come down the back just alongside the dorsal and adipose fins all the way down to the tail. Next, insert the zipper back at the initial incision and come down toward the belly, making a turn above the gill fin, following alongside the belly fin all the way down to the tail. You’re basically making a very small incision that outlines the entire side of the fish or fillet.
*Hint: Keep the zipper tip, gut hook tip, or fillet knife tip as shallow as possible, pointing upward toward the skin as you create the outline cut to avoid cutting deeply into the flesh or fillet.
Step 4: Pulling the Skin Off
Grab the upper back top corner of the skin nearest the head and simply pull down toward the tail while holding the head to remove the skin in one piece.
Step 5: Rinse & Repeat
Rinse the salmon to remove any slime, blood, etc. Repeat the skinning process for the opposite side, making the same incision with the zipper or gut hook to prepare for pulling the skin back. Rinse again after removing the skin. Rinse early, rinse often. I hate salmon slime. It ruins my appetite!
Step 6: Starting the Fillet
Reposition the salmon so the head is pointing roughly away from you at an angle with the head slightly to the right, right side of fish down. Insert your thumb along the backbone on the top side fillet, opening up the gap along and above the backbone from the head all the way down to the tail. This slot will magically guide your fillet knife in a straight line (hopefully). By removing the skin first, you now have this God-given channel for your knife to help ensure a smooth start to the fillet. Guide your fillet knife at a depth of no more than about 2 inches from head to tail in one smooth stroke. No back and forth, no sawing, just one long smooth cut. Repeat this cut one more time from head to tail, in just deep enough to cut through the pin bones, but continuing down to the tail again, pressing the knife firmly agains the back bone as your guide.
*Hint: Never fillet in both directions. Always go from head to tail in long smooth cuts.
Step 7: The Critical Flip
Over a lifetime of filleting fish (35+ years) I’ve often heard fellow filleters lament that while the first side of the fish filleted pretty good, the second side was hacked up or uneven, leaving too much meat on the bones. About 10 years ago, as I developed the overall Master Chef Fillet technique, I solved this dilemma. I invented the flip. The critical flip. If, after making two long stroke incisions to begin to separate the fillet on side #1, you flip the fish over and begin the same process on the other side, you’ll find that the fish cuts much more evenly because it’s still fully intact and round. Don’t forget this critical step which will ensure BOTH fillets are beautiful–not just the first.
Step 8: Who’s on First?
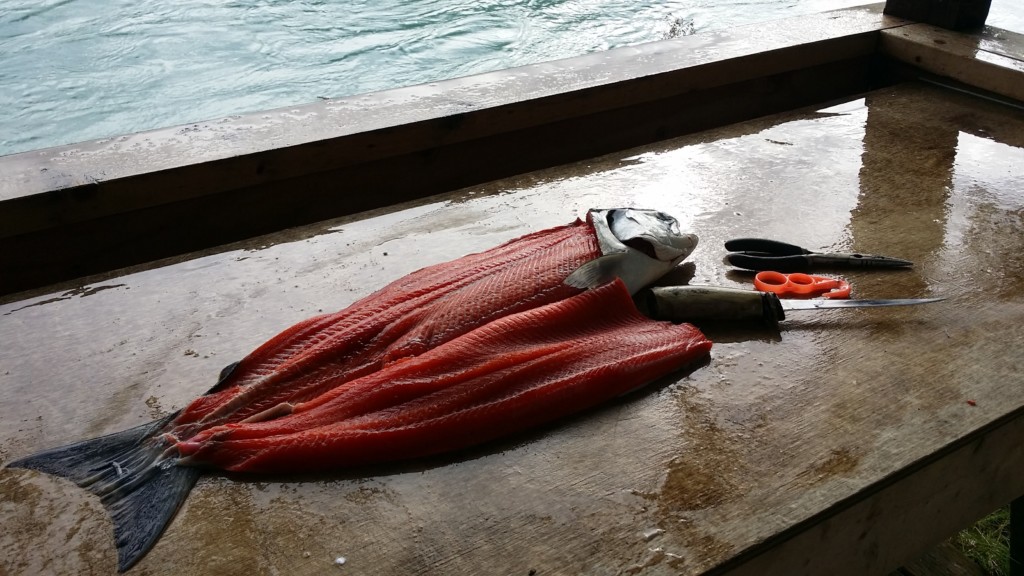
Now that you’re on side #2, make those long, smooth cuts with your fillet knife, no more than 2″ deep at a time, pressing downward toward the backbone, cutting through the pin bones, lifting the fillet for visibility as you go and as you can depending on the size of the fish and fillets. On a 75 pound King Salmon I definitely needed someone to help lift the fillet so I could see what I was doing! On about cut #3 you’ll simply continue from head to tail, now cutting against the rib bones smoothly in long consistent, relatively shallow cuts, again from head to tail until you reach the belly where you’ll lay the fillet over and cut it free along the belly and fins. Side #2 is done, hmmm, or is it Side #1 since it was first…we’ll never know, but this is what it should look like now!
*Hint: By flipping the fish and finishing Side #2 as Side #1 you’ll trick your brain into forgetting which side is which and therefore both sides should turn out as beautifully as Side #1.
Step 9: The Back Flip
You’re almost done! Flip the fish back over and lift the fillet as you finish the final 2-3 cuts from head to tail to remove the fillet from this side–whichever side this is!? (Now I’m confused too.)
Step 10: The Cleanup Cuts
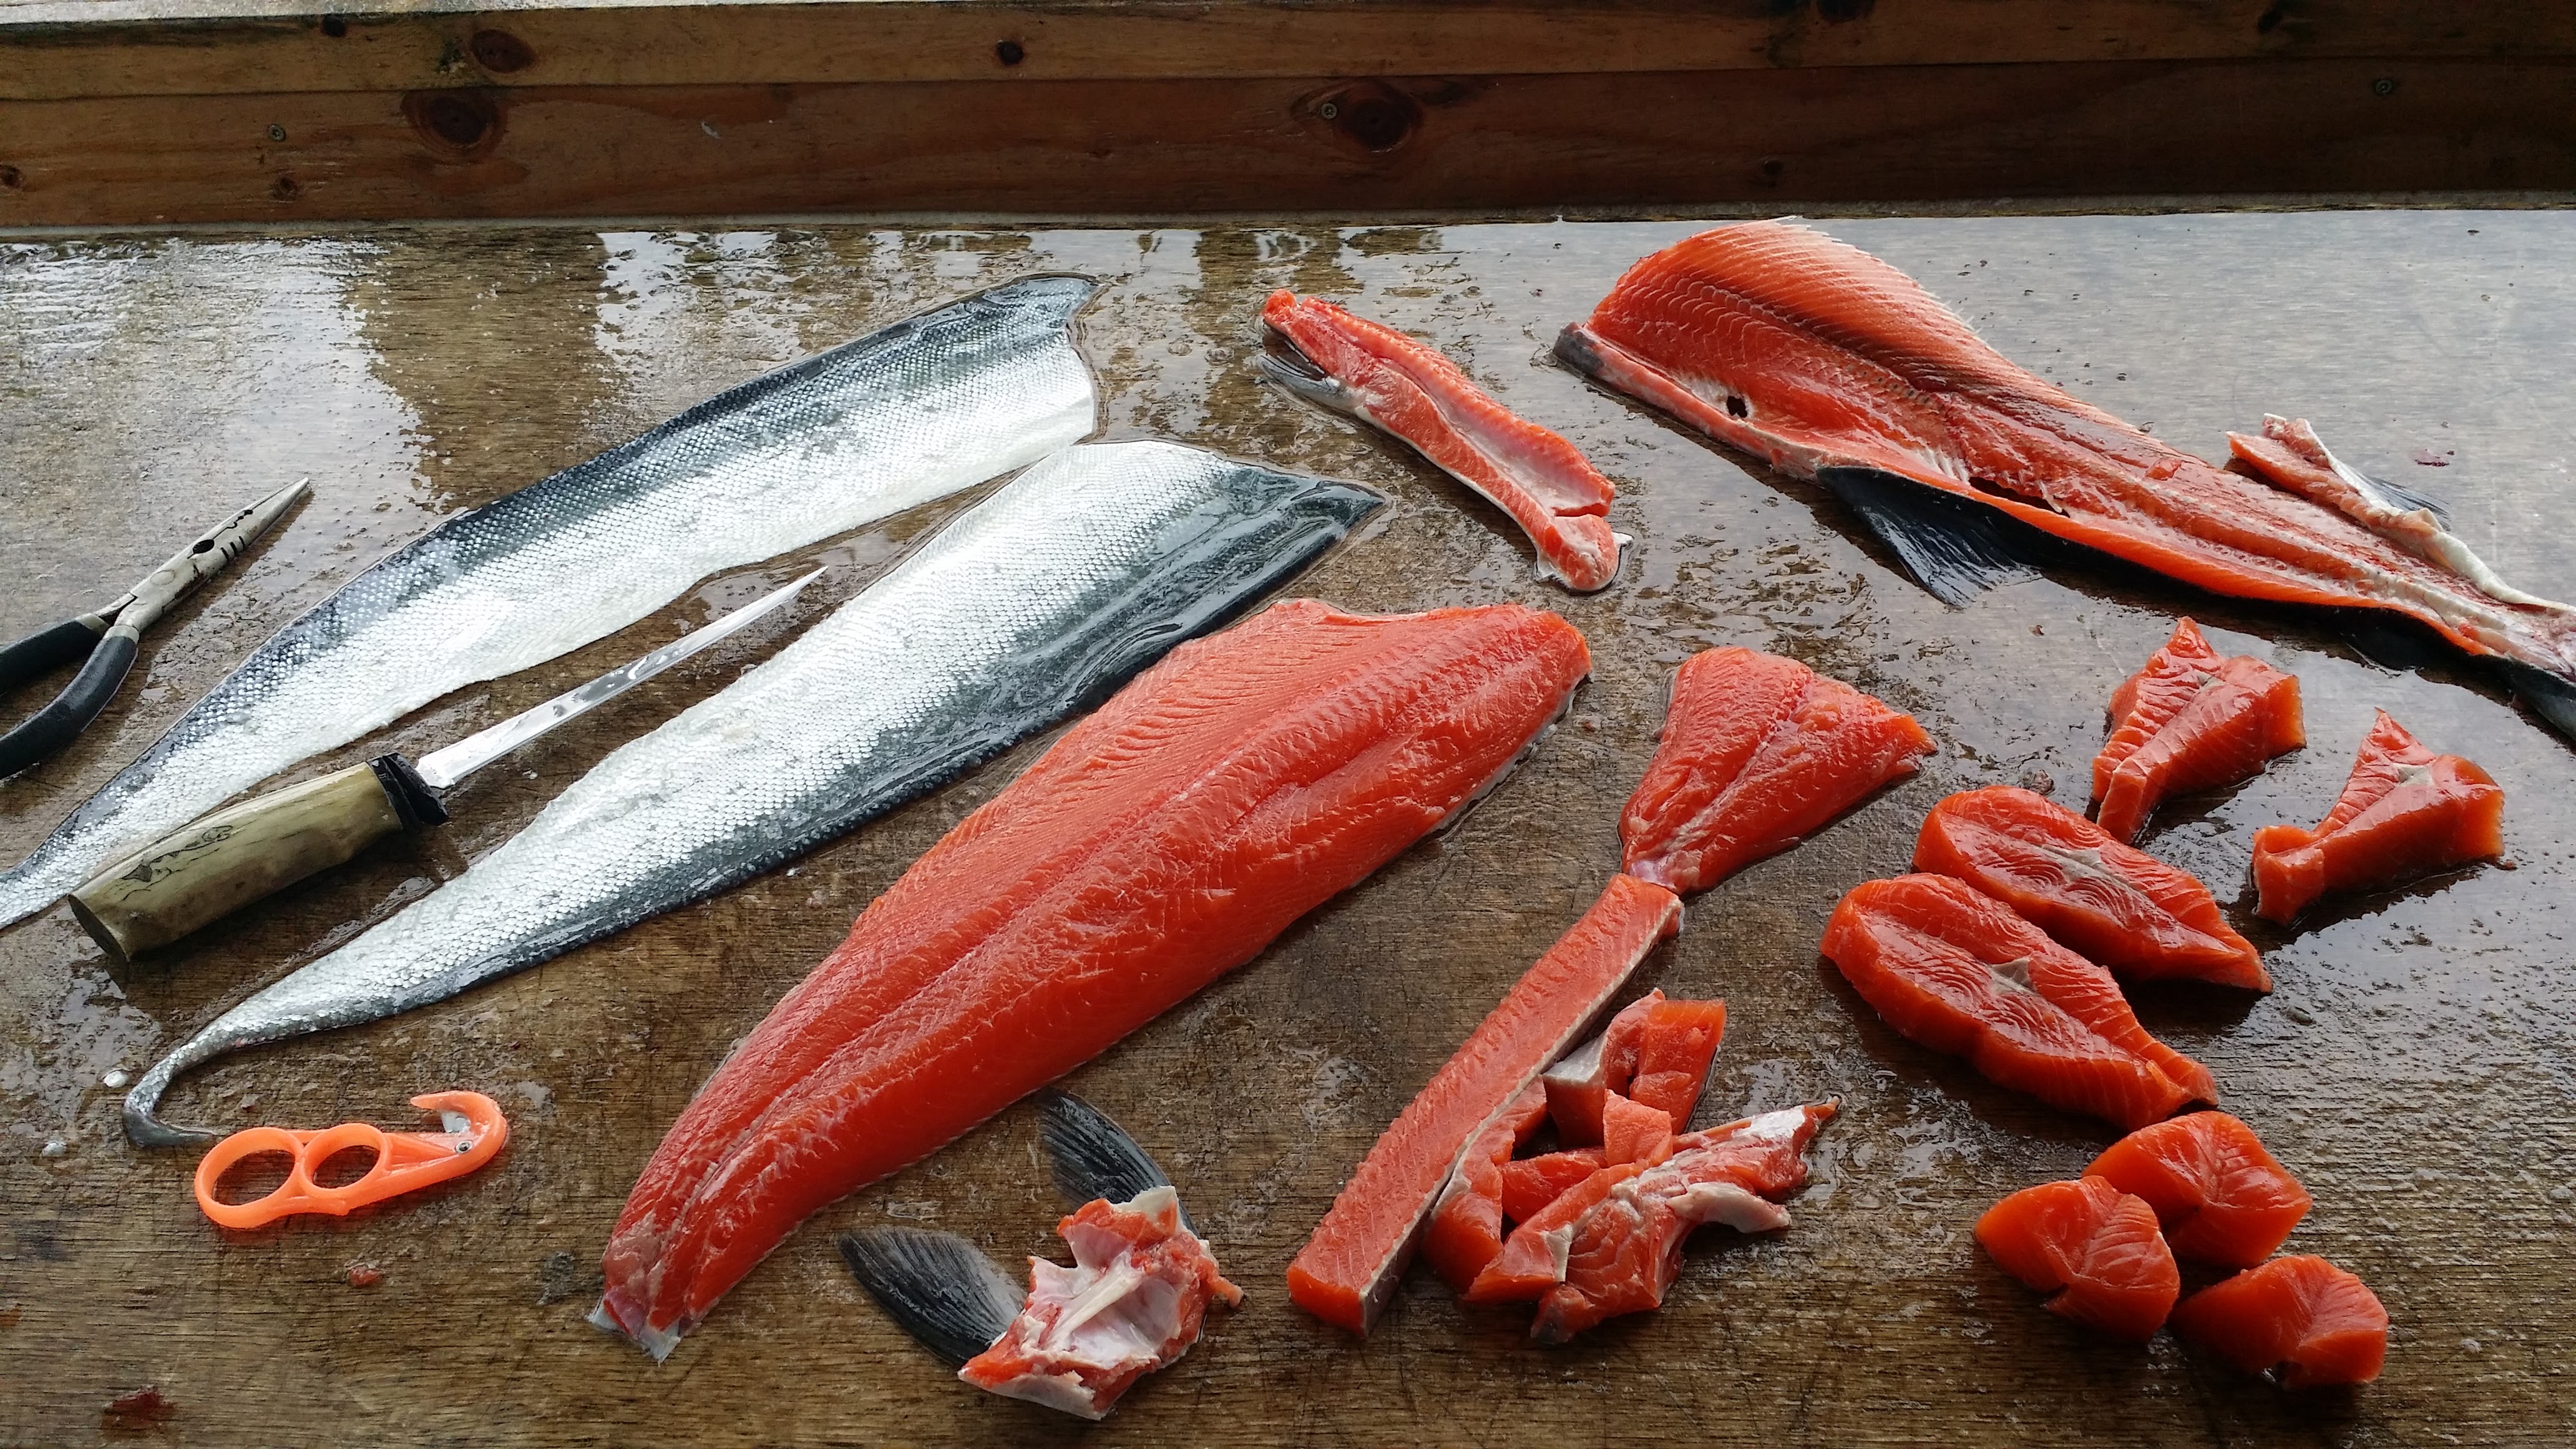
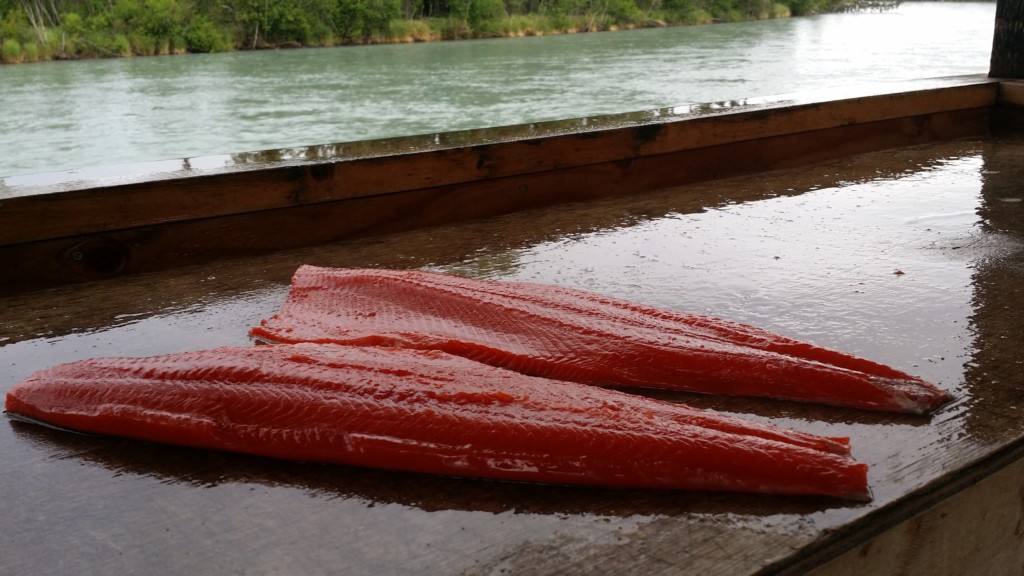
After you lay out and rinse both fillets lightly, you’re sure to find a few bones you’ve missed or some cartilage or what not, so simply use your fillet knife pressed flat against the fillet to “skim cut” these irregularities. Over time you’ll find you have less and less irregularities….be patient, it’s a process, in fact, I just discovered it’s a 10 step process for me! I can fillet a fish using my technique (a standard Sockeye or Coho, Kings take extra) in about 3-5 minutes. Here’s what they look like when I’m done :).
Bonus Step 1: The Butterfly
After years of filleting HUGE King Salmon here on the Kenai River, and fueled by our desire to cook delicious salmon in a wide variety of ways, I taught myself a little bit more–and this is really the Master Chef touch to the whole deal! When you have a whole side of salmon filleted & skinned, you’ll quickly notice that some parts are much thicker than others. The belly is relatively thin, the back is thick. This puzzled me for years. I tried cutting it up into slabs, the traditional Alaska salmon bake style, but I found this didn’t work well for most cooking or smoking techniques, as the belly would be overcooked and/or the back would be raw or undercooked. One day when cutting a King Salmon in the 50 pound plus range it came to me in a flash. I had been recently cutting and processing some moose meat, learning more about how a butcher cuts down a side of beef or a quarter, and I decided to try and apply some of that cutting methodology to a King Salmon fillet.
I visualized the side of salmon as red meat and I somewhat arbitrarily and somewhat inspirationally began labeling different parts of the fillet as beef or game meat cuts: The Top Sirloin, The New York Strip, The Rib Eye and The Fillet Mignon.
Top Sirloin Salmon cut: The tail section, intact or split in half down the center on bigger fillets. The tail section is coarse, chewy, and high in fat. It reminded me of the mouth-feel of a Top Sirloin steak.
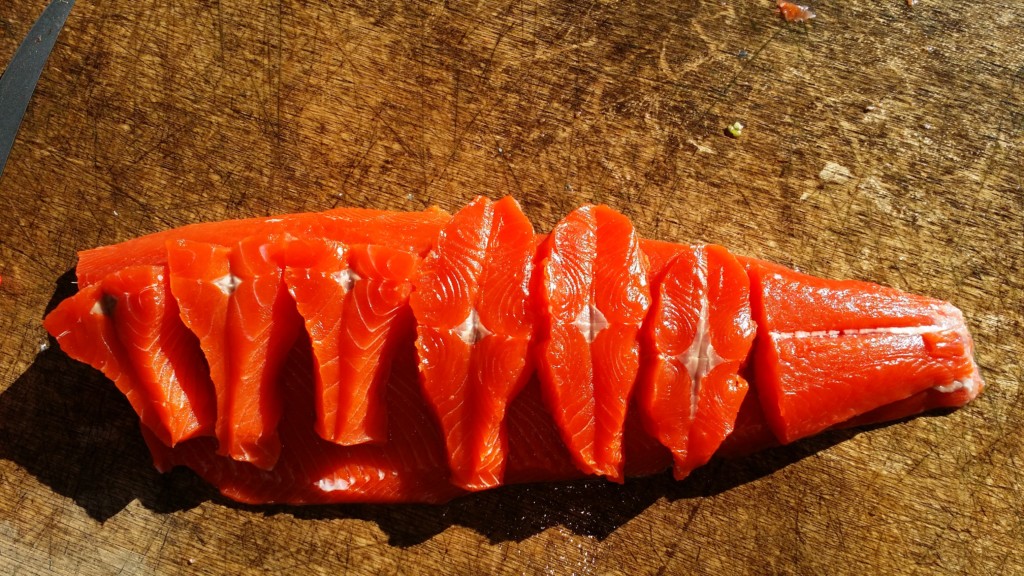
New York Strip Salmon butterfly: The next section up puzzled me for a while. I could just cut sections and they’d be roughly the same thickness for even cooking, but they weren’t particularly appealing. I decided instead to make butterfly cuts by cutting in about an inch from the bottom end, but only cutting 95% through the fillet on the first cut. An inch further up and I cut the piece free all the way through. I opened up the butterfly cut that was hinged together by that 5% of fatty flesh and voila! The New York Strip Salmon Butterfly was born and it not only maintained uniform 1″ (or greater if I preferred) thickness but it also beautifully resembled the shape of a fish or lips! Either way, beautiful on the plate after grilling, baking or sautéing. The texture reminds of a New York strip, somewhat coarse or firm still, but tender and mouthwatering delicious.
Rib Eye Fillet Salmon butterfly:
This is where I take it up a notch and it gets a little complicated. With half the fillet gone, I now chose to remove the pesky pin bone strip to ensure NO BONES ON THE PLATE! I found that by cutting carefully along the pin bones On each side I could separate the Rib Eye section from the Filet Mignon, and toss the pin bone section in for smoking with the bellies or other cuts. After separating the Rib Eye slab, I simply follow the same butterfly cutting methodology described above to create beautiful hear shaped fillets of uniform thickness. Rich in fat near the belly, the Rib Eye is much like other rib eyes in overall texture and taste if prepared and grilled correctly. This is by far my favorite cut to see on the plate, visually esthetic, simply gourmet and master chef worthy.
The Filet Mignon:
Finally, the last cuts. With a long strip of tenderloin-like salmon before me, I simply perform the same butterfly cuts, but much thicker, resembling a filet mignon. This is the most buttery, delicate cut similar to filet mignon in my mind. If the fish is HUGE I simply cut thick filet mignon like cuts rather than the butterfly so as not to overwhelm appetites!
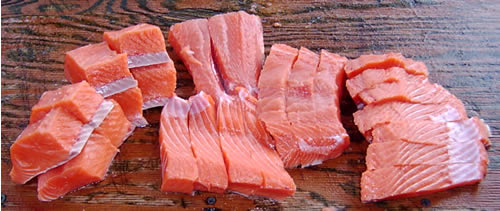
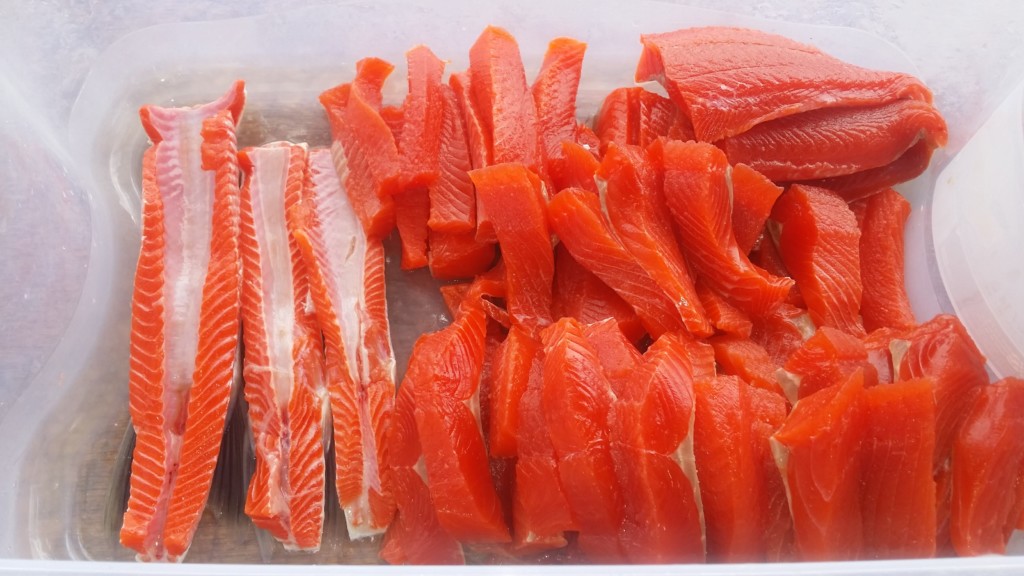
Kenai Riverfront’s unique fillet method — King Salmon Butterflied Fillets
result in ready-to-cook cuts similar to retail beef!
The Result?
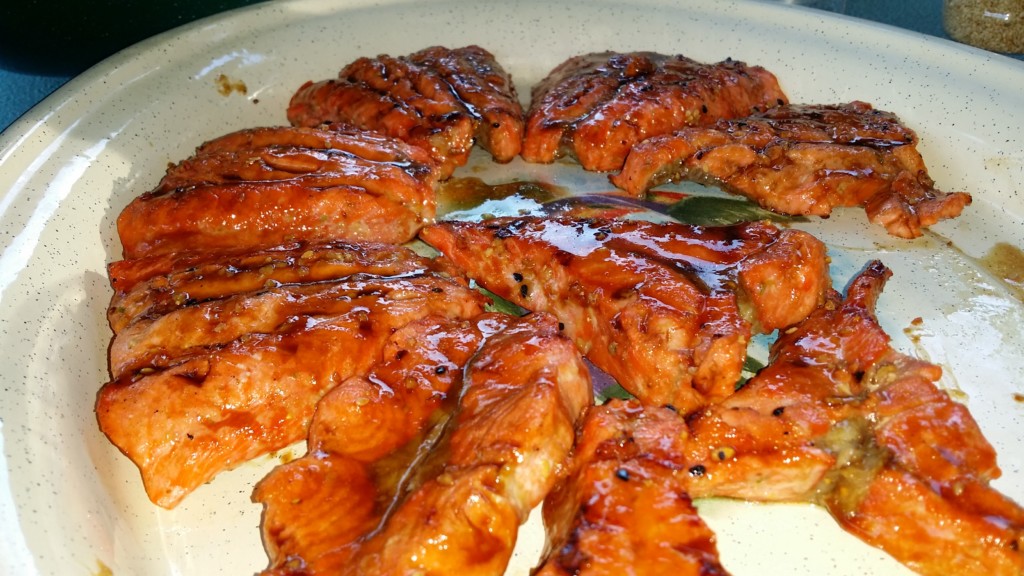
We’ll add more photos of the delicious and visually appealing results soon, but here’s a taste below! You can also find some great recipes and photos in our Amazing Alaska Seafood section of our Alaska Fish & Game Cooking Blog!

Bonus Step 2: Save the Salmon Bellies for Smoking
Coming soon or call us at 907-262-1717
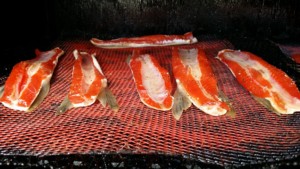
Bonus Step 3: BBQ Salmon Ribs
Coming soon or call us at 907-262-1717
Bonus Step 4: The Full Fillet Butterfly for Small Salmon
Coming soon or call us at 907-262-1717
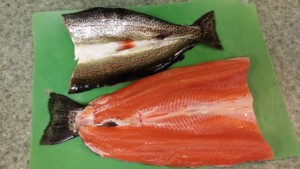
Bonus Step 5: Remember the Otolith (Chinook)
Coming soon or call us at 907-262-1717
